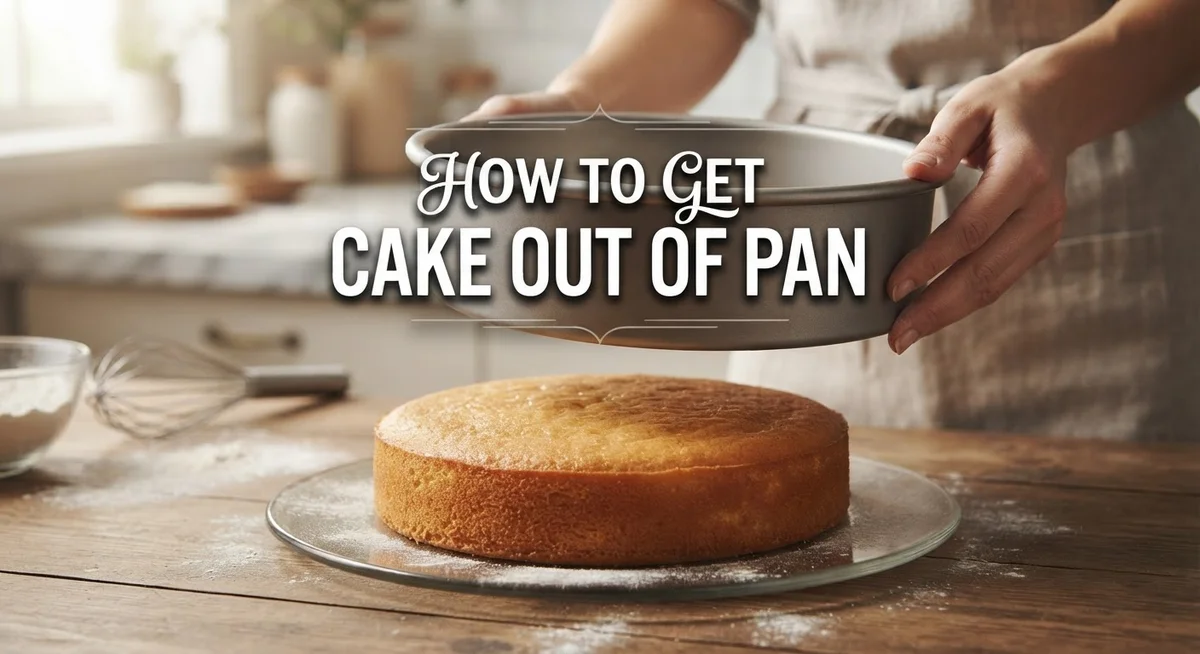
How to Get Cake Out of Pan: Guide to Perfect Removal
Baking a cake feels amazing until you try to get it out of the pan. Then panic sets in when it sticks or breaks apart.
You are not alone in this struggle. Many bakers face the same sticky situation after pulling a cake from the oven.
The good news is timing makes all the difference. Most cake disasters happen because the cake sits in the pan too long. It cools down, sets firmly, and glues itself to the metal.
This guide shows you exactly how to avoid that mess. You will learn the right way to grease your pan before baking even starts.
We also cover the magic timing window for removal. Ten to fifteen minutes is all you need to wait before flipping your cake out.
You will discover simple tricks using a spatula to loosen stubborn edges. We even tackle tricky situations like bundt cakes and overcooled disasters.
By the end, you will know how to release any cake cleanly every single time. No more crumbled edges or stuck bottoms.
Let’s get your cake out of that pan in one perfect piece.
In a Nutshell
Here is your quick summary for getting cake out of a pan without any stress.
-
Grease your pan well before you even mix the batter. Cover the bottom and sides completely. This small step saves you big trouble later.
-
Add parchment paper to the bottom of the pan. Trace the shape first, then cut it out. Grease the paper too for extra protection.
-
Watch the clock closely. Let your cake cool for only 10 to 15 minutes in the pan. This short window keeps the cake soft enough to release easily.
-
Avoid long cooling times. If you wait too long, the cake sets and sticks hard. This makes removal messy and frustrating.
-
Run a spatula around the edges to loosen any stuck spots. Do this gently before you attempt to flip the cake out.
-
Flip the cake onto a cooling rack right after loosening it. Let it finish cooling completely outside the pan.
Follow these simple steps and your cake will pop out clean every time, whether it’s a round pan or a bundt shape.
Why Cakes Stick to Pans
Cakes stick to pans for several reasons. Understanding these causes helps you prevent sticking before it happens.
Heat and moisture create the main problem. When cake bakes, steam rises from the batter. This steam gets trapped between the cake and the pan sides. As the cake cools, it contracts slightly and grips the pan tighter. The longer the cake sits in the pan, the stronger this grip becomes.
Insufficient pan preparation is another major cause. If you skip greasing or use too little grease, the cake has nothing to slide against. Dry spots on the pan create friction that locks the cake in place. Parchment paper helps, but only if you grease it too. A bare parchment sheet can still trap your cake.
Overcooling is the biggest mistake people make. Cakes need only 10 to 15 minutes to cool slightly in the pan. After this window closes, the cake sets completely and bonds with the pan surface. Waiting 30 minutes or longer makes removal extremely difficult. Overnight cooling makes it nearly impossible.
Sugar and fat in the batter affect sticking too. Rich cakes with lots of butter or oil sometimes stick more than lean cakes. This happens because the fats cool and solidify, creating a seal between cake and pan. Delicate cakes with less fat can stick just as easily if timing is wrong.
Pan material matters as well. Dark nonstick pans conduct heat differently than light metal pans. Some pans have better release surfaces than others. Regardless of your pan type, proper greasing and parchment paper work on all of them.
The key takeaway is simple: timing and preparation prevent sticking. Grease thoroughly, use parchment, and remove your cake within that critical 10 to 15 minute window. These steps solve 99 percent of sticking problems before they start.
Prepping Your Pan Before Baking
Getting your cake out of the pan starts long before you flip it over. What you do right now makes the difference between a perfect release and a stuck mess.
Start by greasing your pan thoroughly. Use your fingers or a pastry brush to coat every surface with fat. Don’t skip corners or the sides. The grease creates a barrier between the batter and the metal or ceramic surface.
Next, line the bottom of your pan with parchment paper. Trace your pan’s outline on the paper first, then cut it out. This step gives you extra insurance against sticking. Place the parchment circle inside your greased pan, then grease the parchment too.
Why both grease and parchment? They work together. Grease helps the parchment stay in place and provides a slick surface. The parchment protects the most delicate part of your cake—the bottom—from direct contact with the pan.
Make sure your pan is completely dry before adding batter. Any moisture can cause the cake to stick or bake unevenly. Wipe it out with a clean towel if needed.
For bundt pans and other shaped pans, pay special attention to the crevices. Use a small brush to get grease into every groove and corner. These detailed areas trap batter and cause sticking if not properly prepared.
Let your greased and lined pan sit at room temperature. A cold pan can shock your batter and affect how your cake bakes. Room temperature pans help the batter spread evenly.
The bottom line: Spend two extra minutes on pan prep now, and removal becomes effortless later. Your future self will thank you when your cake slides out in one beautiful piece.
The Ideal Cooling Window: Timing Matters
The window for removing your cake from the pan is surprisingly short. You have roughly 10 to 15 minutes after the cake comes out of the oven. This timing is absolutely critical to your success.
Here’s why this window matters so much. When your cake first finishes baking, it’s still warm and slightly soft. The heat keeps the crumb structure flexible. This flexibility allows the cake to release cleanly from the pan sides. The cake hasn’t fully set yet, so it separates easily.
Wait beyond 15 minutes and everything changes. The cake begins to cool and firm up. As it cools, the structure hardens and contracts slightly. This contraction actually pulls the cake tighter against the pan walls. The longer you wait, the stronger the bond becomes between cake and pan.
Overcooling is the number one reason cakes stick permanently. If you let a cake sit in the pan for 30 minutes or longer, removal becomes extremely difficult. The cake may crack, crumble, or tear when you try to flip it. Worst case, pieces stay behind in the pan.
Set a timer when your cake goes into the oven. The moment your timer goes off, start counting. After 10 to 15 minutes of cooling, you need to act. This is your ideal removal window.
Some bakers worry the cake is still too hot to handle. That’s actually fine. Your hands can tolerate brief contact with a warm pan. Use oven mitts if you’re concerned about heat. The warmth actually works in your favor by keeping the cake pliable.
Don’t overthink this step. Grab your spatula, loosen those edges, and flip your cake onto the cooling rack. The sooner you remove it, the better your results will be.
Step-by-Step: Removing Your Cake Safely
Once your cake finishes baking and you’ve waited the critical 10 to 15 minutes, it’s time to act. This window is your best chance for success. The cake is still warm enough to release easily but cool enough to handle.
Start by running a thin spatula or knife around the inside edges of the pan. Press the tool gently against the pan wall, not the cake. Work your way around the entire perimeter. This step separates the cake from the pan sides and breaks the seal that forms as the cake cools.
Pay extra attention to corners and crevices if you’re using a shaped pan. These spots tend to trap the cake more stubbornly. Slide your spatula underneath the cake edges to loosen them further. You should feel slight movement as the cake begins to separate.
Now comes the flip. Place a cooling rack or plate over the top of your pan. In one quick, confident motion, flip the pan and rack together. The cake should slide out onto the rack. If it resists, tap the pan bottom gently on the counter. Don’t flip back and forth repeatedly, as this creates more sticking.
Once the cake is out, leave it on the cooling rack right away. The rack allows air to circulate underneath, preventing moisture from trapping the cake again. Never return a partially cooled cake to the pan.
If your cake does stick despite your efforts, use your spatula to gently work around the stuck sections. Patience matters here more than force. Aggressive prying tears the cake. Work slowly and let gravity help you.
The key is acting within that 10 to 15 minute window. Speed and timing beat every other factor combined. Your cake will release cleanly and your baking confidence will soar.
Special Techniques for Bundt and Specialty Pans
Bundt pans and specialty molds require the same core removal principles as standard pans, but their intricate shapes demand extra care. The timing rule stays the same: remove your cake within 10 to 15 minutes of baking. Waiting longer causes the cake to set and grip the pan permanently.
Specialty pans have more surface area than regular cake pans. Crevices, ridges, and decorative details create extra spots where cake can stick. This makes thorough greasing even more important before baking. Pay special attention to the center tube of Bundt pans and all the intricate corners of your chosen mold.
When you’re ready to release the cake, run a thin spatula or knife around every edge. Don’t rush this step. Work slowly along the entire inside perimeter, including any detailed areas. For Bundt pans, slide your spatula down along the center tube as well.
The flip is where specialty pans show their real advantage. These pans are designed to release decorative patterns onto your cake’s surface. Place your cooling rack directly over the pan’s opening. Hold both firmly and flip in one confident motion. The cake should release onto the rack with the beautiful pattern facing up.
If part of the cake sticks, don’t panic. Use your spatula to gently work around the stuck section from underneath. Lift slowly and carefully. Never force the cake or twist the pan.
The key difference with specialty pans is patience during removal. Their complex shapes need more attention than simple round pans. Spend extra time running your spatula around every edge and crevice. This extra minute or two prevents chunks from tearing off and ruining your decorative design.
Remember: proper greasing before baking and quick removal after cooling make specialty pan cakes pop out cleanly every single time.
Common Mistakes That Ruin Cake Removal
Removing cake from a pan seems simple, but small mistakes can turn your dessert into crumbs. Understanding what goes wrong helps you succeed every time.
The biggest error bakers make is waiting too long before removing the cake. Once a cake cools beyond 15 minutes in the pan, it sets firmly against the sides. The cake contracts as it cools, creating a tight seal. After 30 minutes, the cake becomes nearly impossible to release without damage. You must act fast while the cake is still warm.
Skipping parchment paper causes unnecessary sticking. Many bakers grease the pan and assume that’s enough. Parchment provides a barrier between the cake and metal, making removal almost automatic. Without it, even a well greased pan can trap your cake.
Another common mistake is cutting the cake before it fully cools. Warm cake is fragile and tears easily when sliced. Wait until the cake sits on a cooling rack for at least an hour. This allows the interior structure to firm up properly.
Some bakers delay removal overnight, thinking the cake will be easier to handle when completely cold. This backfires badly. A fully cooled cake bonds permanently to the pan. The moisture in the cake evaporates, and the cake hardens in place.
Insufficient edge release is another problem. Running a spatula around the pan edges loosens the cake from the sides. If you skip this step or rush through it, sections stick to the pan during flipping.
Finally, using the wrong tools matters. A thin spatula or knife works better than thick utensils. Thick tools can’t fit into tight spaces between the cake and pan walls.
Success comes from combining proper pan prep, perfect timing, and careful technique. These mistakes are easy to avoid once you know what causes them.
Troubleshooting a Stuck or Overcooled Cake
When your cake sticks to the pan or has cooled too long, don’t worry. This happens to many bakers, and you can still salvage your dessert with the right approach.
The main culprit is timing. If you wait longer than 15 minutes after baking ends, the cake hardens and bonds to the pan permanently. Once this happens, removal becomes much harder. The cake needs to cool just enough to hold its shape but stay warm enough to release easily.
If your cake is already stuck, start by running a thin spatula or knife around every edge of the pan. Work slowly and deliberately. Press the tool against the pan wall, not the cake. This separates the cake from the metal surface. Pay special attention to corners and any decorative ridges. Spend a full minute doing this step. You’re trying to break the seal between cake and pan.
After releasing the edges, place your cooling rack on top of the pan. Hold both together firmly, then flip in one smooth motion. The cake should slide out onto the rack. If it doesn’t budge, flip back and repeat the edge release process. Sometimes you need two or three attempts.
For severely stuck cakes, try running a warm (not hot) knife around the edges. The heat can help loosen stuck spots. Another option is placing the pan bottom under warm running water for 30 seconds. This softens the exterior slightly and can help release stubborn sections.
Never force the cake out. Yanking or twisting the pan will cause crumbling and breakage. Patience wins here. If the cake breaks during removal, you can still use the pieces for cake crumbles, frosting layers, or trifles. Nothing is truly wasted in baking.
The best solution remains prevention. Use parchment paper and grease your pan thoroughly next time. This stops most sticking problems before they start.
Final Thoughts
Getting a cake out of its pan does not need to feel scary. Once you understand the basics, the whole process becomes simple and repeatable.
Preparation makes the biggest difference. A well greased pan with parchment paper gives your cake the best chance of sliding out smoothly every single time.
Timing matters just as much as prep work. Removing your cake within that short window after baking keeps it from bonding to the pan surface.
Think of cake removal as a rhythm. You grease, you bake, you wait a few minutes, and then you act. Each step supports the next one.
Mistakes happen to every baker at some point. A cake that sticks or breaks a little does not mean you failed. It just means you learned something for next time.
Keep a spatula nearby and trust the process. Gentle pressure around the edges solves most sticking problems without damaging your cake.
Bundt pans, round pans, and specialty molds all follow the same simple logic. Grease well, time your removal, and handle the cake with a light touch.
Over time, this process becomes second nature. You will start to sense exactly when a cake is ready to come out.
Confidence grows with practice. The more cakes you bake and release, the more natural the entire routine feels.
Remember that patience protects your hard work. Rushing the flip or skipping the cooling step often causes more harm than good.
A calm and steady approach always wins. Slow down during the final steps and let the cake guide you.
In the end, getting cake out of a pan is not about luck. It is about following a few clear steps and trusting them.
With the right habits in place, every cake you bake has a much better chance of coming out whole, beautiful, and ready to enjoy.
Frequently Asked Questions
Why does my cake stick to the pan even when I grease it?
Greasing alone isn’t always enough. You need both grease and parchment paper for best results. Grease the pan first, then line the bottom with parchment paper. Make sure you grease the parchment too.
The real problem often comes from timing. If you wait too long before removing the cake, it cools and bonds to the pan permanently.
How long should I wait before removing cake from the pan?
Remove your cake within 10 to 15 minutes after it comes out of the oven. This is the critical window.
The cake needs to cool just enough to hold its shape. Wait any longer and it hardens against the pan sides. This makes removal much harder.
What should I do if my cake is already stuck?
Don’t panic. Run a thin spatula or knife around every edge of the pan carefully. Work your way around the entire perimeter.
After releasing the edges, place a cooling rack on top of the pan. Flip the whole thing over gently. If it still won’t budge, try a warm knife around the edges again. Never force it, or your cake will crumble.
Can I remove cake from specialty pans like Bundt molds?
Yes. Bundt pans, round pans, and shaped molds all follow the same method. Grease thoroughly, use parchment on the bottom, and remove within 15 minutes.
The spatula release technique works for any pan shape. Just be extra careful with detailed molds to reach all the crevices.

DK Jacks is a passionate food enthusiast, recipe developer, and culinary explorer. With a love for both traditional and innovative flavors, DK brings a fresh perspective to the kitchen. When not experimenting with new ingredients, you’ll find DK capturing food moments through the lens or sharing cooking tips with fellow foodies.🍽️📸✨